
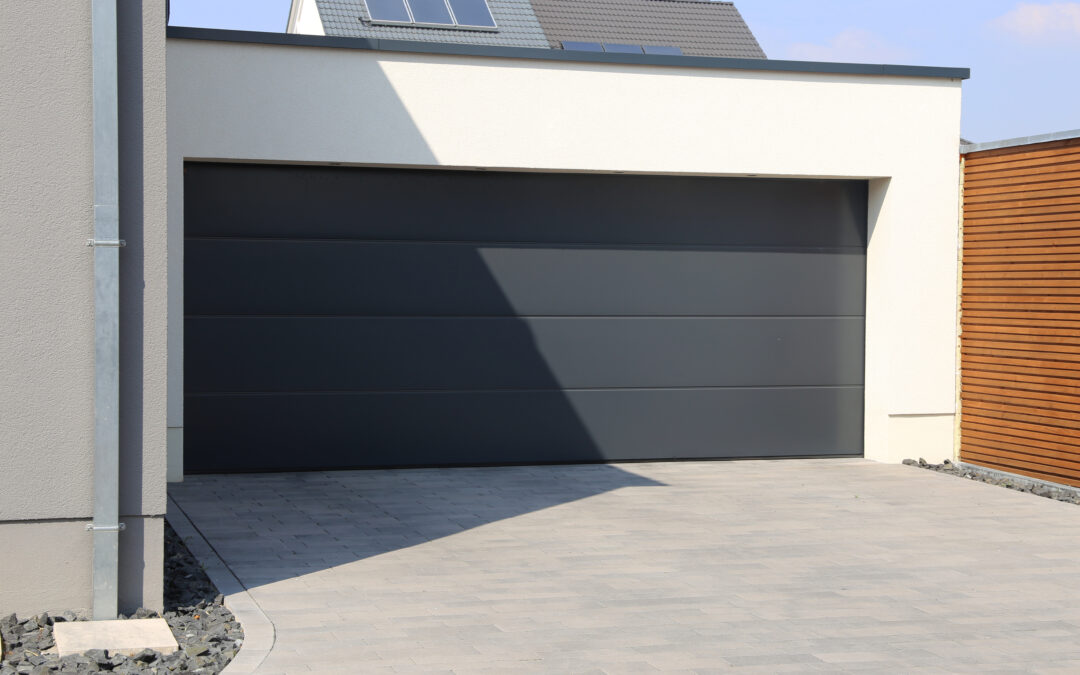
Garage doors are vital to any home, providing both security and convenience. However, wear and tear can lead to damaged panels that compromise the door’s functionality and appearance over time. If you’re considering replacing a garage door panel, you’re in the right place. This step-by-step guide will walk you through the entire process, from identifying the need for replacement to the final installation of the new panel.
Step 1: Evaluate the Condition of Your Garage Door Panels
The first step in the garage door panel replacement process is to evaluate the condition of your existing panels. Check for visible damage such as dents, cracks, or rust. If only one or two panels are damaged, replacement may be a cost-effective solution. Conversely, if multiple panels are compromised, a full garage door replacement might be more beneficial in the long run.
Step 2: Gather the Required Tools and Materials
Before commencing the replacement, gather the necessary tools and materials. You will typically need:
- Replacement panels (ensure compatibility with your garage door type)
- A socket set and screwdrivers
- A level
- Safety goggles and gloves
- A tape measure for accurate measurements
Step 3: Disconnect the Garage Door from the Opener
Safety is paramount during any DIY project. To begin, disconnect your garage door from the opener. This usually involves pulling the emergency release cord, allowing you to operate the door manually. Make sure the door is in the closed position to prevent accidents during the replacement.
Step 4: Remove the Damaged Panels
Next, carefully remove the damaged panels. Start by unscrewing the hinges and other fasteners holding the damaged panel in place. Depending on the design of your garage door, you may need to remove the entire panel or just the damaged sections. Exercise caution, as garage door panels can be heavy.
Step 5: Install New Panels
After removing the damaged panels, it’s time to install the new ones. Align the new panels with the existing sections of the door. Use the level to ensure that the new panels are straight and even. Secure them with the appropriate fasteners and hinges, ensuring a tight fit to prevent future issues.
Step 6: Reconnect the Garage Door Mechanism
After successfully installing the new panels, reconnect your garage door to the opener. Test the door’s operation to ensure it opens and closes smoothly without any obstructions. Lubricate the hinges and tracks to enhance performance and prolong the life of your garage door.
Step 7: Final Checks and Adjustments
Once the installation is complete, thoroughly inspect the garage door. Look for gaps between the panels and ensure a proper seal to prevent air and water infiltration. Make any necessary adjustments to achieve a perfect fit.
Replacing damaged garage door panels can significantly enhance the aesthetics and functionality of your garage. While some homeowners may opt for a DIY approach, enlisting professionals can save you time and ensure a high-quality installation. At AMS Garage Doors, we specialize in garage door panel replacement throughout Ontario. Our skilled technicians are dedicated to providing exceptional service, ensuring your garage door operates safely and efficiently. For expert assistance, contact us today!